Commercial Christmas Light Wire & Components
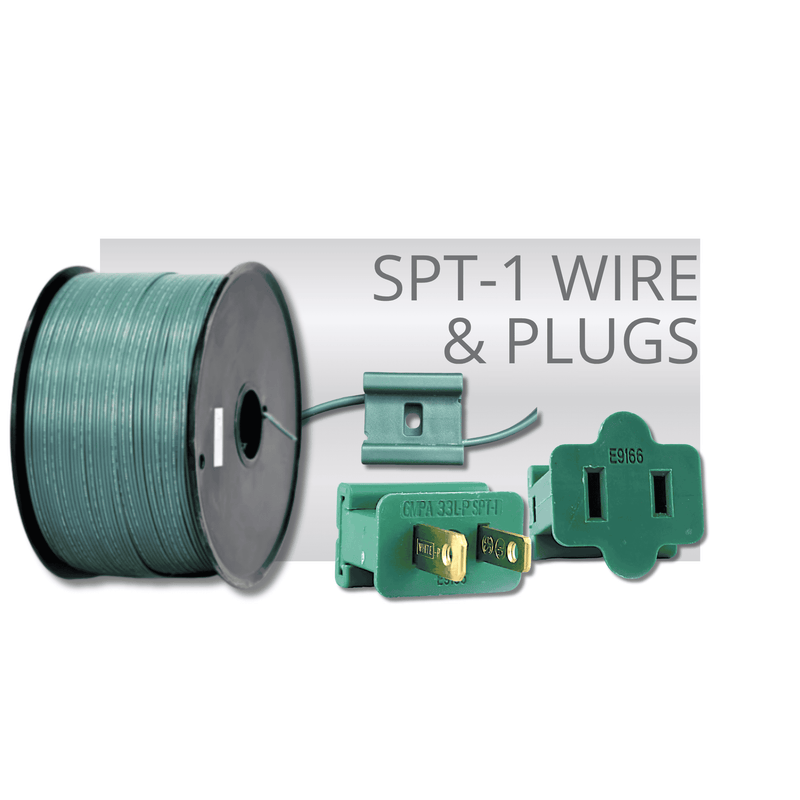
SPT-1 Wire & Plugs
Professional grade SPT-1 wire with matching plugs and connectors. This is what we use for nearly every residential installation. 18-gauge wire perfect for LED loads, available in bulk spools.
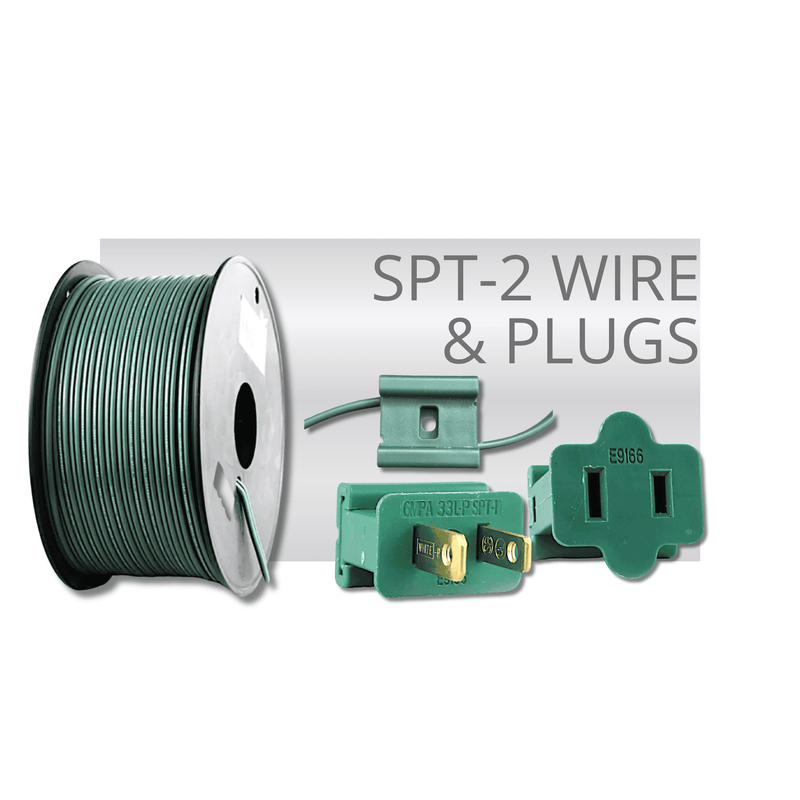
SPT-2 Wire & Plugs
Commercial grade SPT-2 with thicker insulation for extreme conditions. Same amperage capacity as SPT-1, but built tougher.
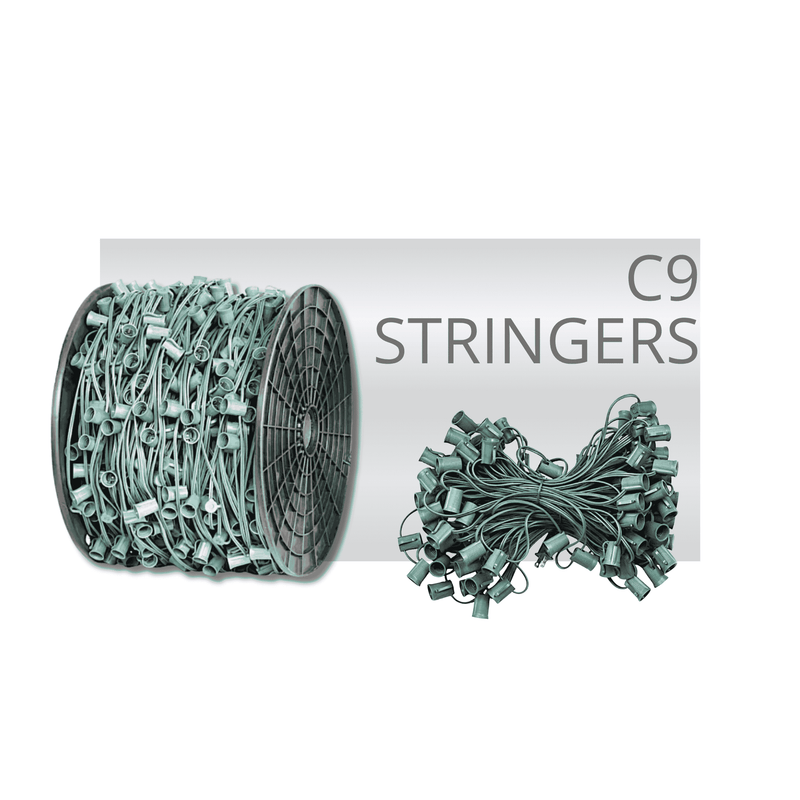
C9 Stringers
C9 socket strings ready for your bulb selection. E17 sockets on commercial grade wire. Choose your spacing: 12", 15", or 18". Available 25ft to 1000ft.
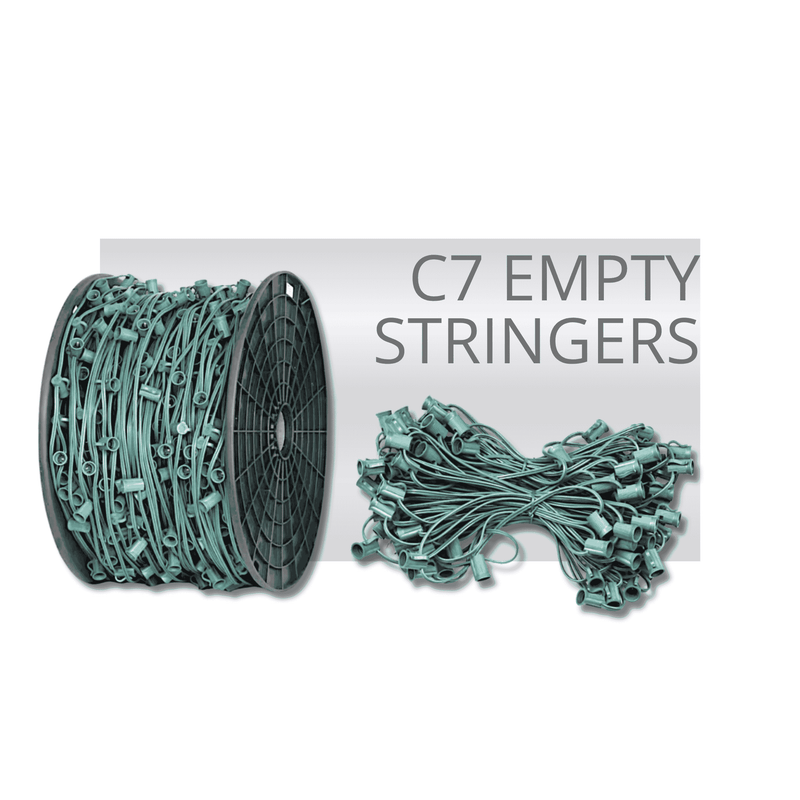
C7 Empty Stringers
Empty C7 socket strings with E12 sockets. Professional grade for custom builds. 12" or 15" spacing, multiple lengths available.
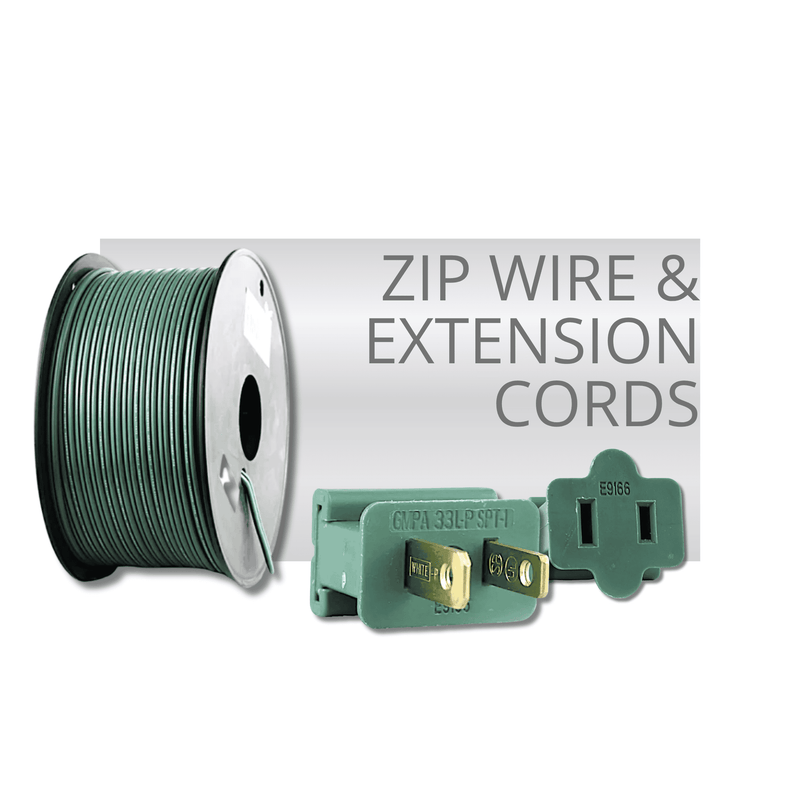
Zip Wire & Extension Cord
Create professional extension cords and power runs exactly the length you need. No more coiled excess wire or daisy-chained cords. Using SPT-1 or SPT-2 zip wire with male and female plugs
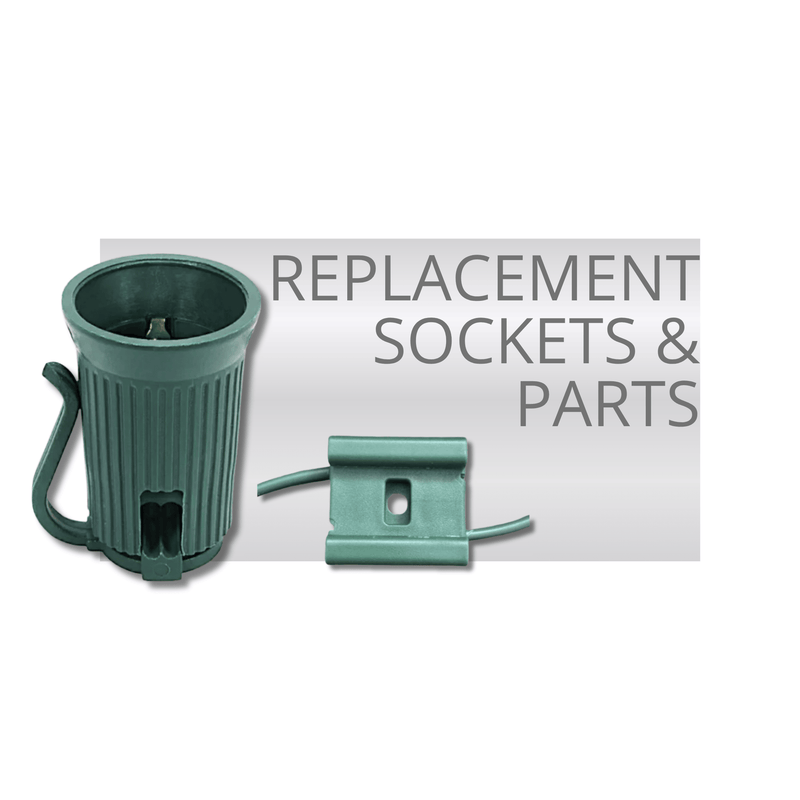
Replacement Sockets & Parts
Individual C9/C7 sockets, inline sockets, and repair components. Fix damaged strings or create custom spacing.


Best Way To Make Custom Extension Cords for Christmas Lights
Making your own cords saves time, money, and lets you build exactly what you need for each display. Here’s a quick step-by-step guide to build safe, durable cords using male and female vampire plugs.

What You’ll Need
- Zip cord (SPT-1 or SPT-2)
- Male and female vampire plugs
- Wire cutters
- GFCI outlet for safety

Step-by-Step Instructions
1. Cut the Cord Cleanly
- Use the end of your cutters, not the hole near the hinge — that won’t cut cleanly.
- Cut so you get a flat, even end without any copper strands sticking out.
- For extra safety, cut the cord at a slight angle so one wire is shorter — it helps prevent shorts if water gets in.

2. Install a Male Plug
- Slide the cord into the end of the plug (not the side).
- Push it down firmly so the metal teeth bite into the wire insulation.
- Snap or slide on the cap — the side with a small “ramp” should face the wire.
- If it’s cold, use the flat side of your cutters to push the cap tight (keep your hands clear).

3. Install a Female Plug
- Do the same process on the other end of the cord.
- Always end a line with a female so there are no exposed prongs.
- Make sure the cap is snug and sealed to keep moisture out.

4. Add Inline Females (Optional)
- Each female plug has a small knockout tab — grip and pull it out with your cutters.
- Line up the plug where you want it on the cord and push the wire down into the plug.
- Snap on the cap to secure it.
- You can add as many inline females as needed, but only one male per cord.
Perfect for bushes, rooflines, or runs where you need several outlets along one cord.

5. Test and Finish
- Give each plug a firm tug — it shouldn’t move.
- Make sure there’s no exposed copper.
- Plug it into a GFCI outlet to test before using it in your display.

Quick Rules to Remember
- One male per cord
- Always end with a female.
- Angle your cuts to reduce shorts.
- Keep connections off the ground.
- Use GFCI protection outdoors